Upgrade Your Kitchen: How to Install a Backsplash Like a Pro
Transforming your kitchen with a freshly installed backsplash doesn’t have to be an intimidating task. You’ll find that by following some straightforward steps, you can achieve a professional finish without hiring an expert. First, the right tools and materials create a solid foundation for success, but how do you know what you’ll need? Once you’ve gathered the essentials, preparing your walls becomes the next fundamental step. Ready to explore the layout design that complements your style? Let’s break it down meticulously, ensuring your kitchen not only looks fantastic but also stands the test of time.
Essential Tools and Materials
To begin the backsplash installation with precision, you’ll need a set of essential tools and materials that guarantee both functionality and efficiency. Start with a utility knife, perfect for cutting through the mesh backing on your tiles. You’ll also need a notched trowel to spread tile adhesive evenly. A grout float is vital for spreading and smoothing grout, while a sponge will help you wipe away excess grout, leaving the tiles pristine.
Equip yourself with a tile cutter, wet saw, or snap cutter to handle precise tile cutting with ease. A completed backsplash enhances kitchen aesthetics, making it a worthwhile DIY endeavor for transforming your kitchen space. Fastening and leveling are equally important. Use a level to verify your ledger board and tiles align perfectly. A pry bar or hammer will assist in removing any old materials. Finishing nails securely fasten the ledger board, and a rubber mallet allows you to tap tiles into place gently. A stud finder will locate wall studs for secure attachments.
For adhesion and grouting, choose between mastic or thin set mortar, and arm yourself with grout to fill in the tile gaps. An optional grout sealer protects from stains, while a caulk gun facilitates precise application of caulk.
Don’t forget the measuring tape, tile spacers, safety goggles, painter’s tape, and buckets—they’re indispensable for success.
Workspace and Wall Preparation
Having gathered your tools and materials, let’s focus on preparing your workspace and walls—this step is as essential to the process as the tools themselves.
Begin by decluttering your countertops, storing items safely away to guarantee they stay pristine. Cut the power to electrical outlets and detach cover plates, a vital step for safety and precision. Shield your precious countertops and nearby areas with protective sheets, like drop cloths or plastic sheeting, which guard against rogue drips of thinset or grout. Safeguard outlets by using painter’s tape to block any pesky contaminants.
Meticulously clean your wall surface. It should be spotless, devoid of grease, dust, or residue. Lightly sand the drywall to bolster thinset bonding, and diligently patch any imperfections with spackle before sanding them smooth. Verify that your wall’s substrate is ideal for tiling; install a backer board if not. Sand the surface so it’s smooth and ready for perfect tile adhesion.
A level workspace is your best ally. Confirm the countertop is flat, and manage any irksome gaps. Employ joint compound on uneven surfaces and attach a ledger board if necessary.
Don’t forget to shield the edges of cabinets and appliances, making strategic use of painter’s tape for foolproof protection.
Designing the Tile Layout
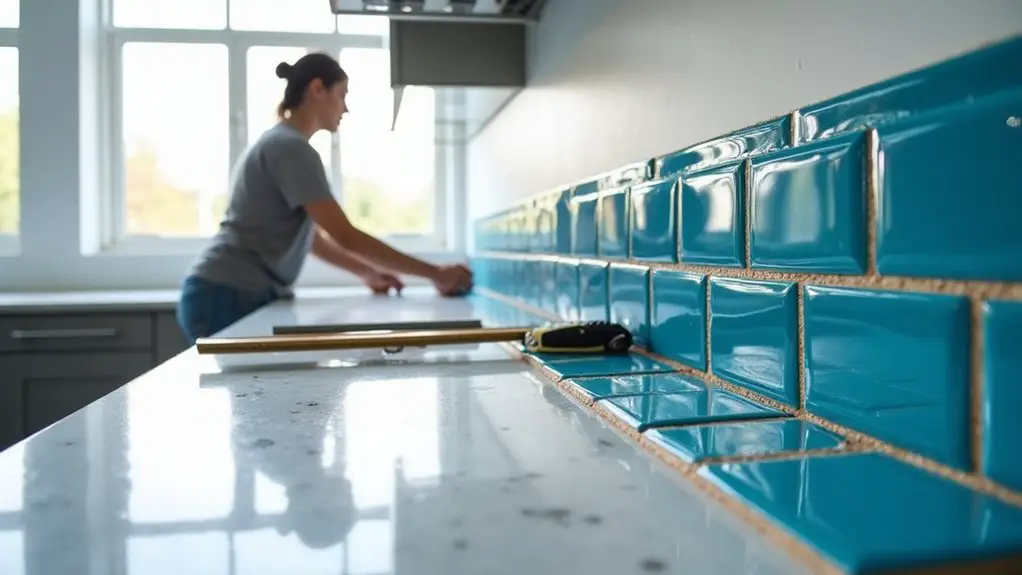
Crafting a beautiful backsplash starts with a well-thought-out tile layout. To achieve a professional look, make smart decisions about your starting point and pattern.
Begin laying tiles from the top of the countertop with a full tile. This guarantees a seamless connection and avoids the visual distractions that occur when starting in a corner. If your countertops vary in height, always prioritize whole tiles at the main height before adjusting for alternate levels. If your design includes corner placements, take into account the visual impact of appliances in those areas to ensure an aesthetically pleasing result.
When selecting a tile pattern, your choices range from classic to contemporary:
- Off-set or Stacked Patterns: These options offer a timeless look, whether mimicking a brick lay or creating a clean grid.
- Diagonal or Herringbone Patterns: For those eye-catching designs, these angles create dynamic, striking visuals that enhance the room’s character.
- Vertical Stack: A modern twist that draws the eye upward, making your space feel taller.
Your backsplash should align with the countertops, extending past upper cabinets to guarantee full coverage.
Finish with bullnose trims or edging profiles for a neat edge. Finally, mix tile sizes or use accent tiles subtly. Attention to detail will elevate your kitchen’s elegance.
Mortar Application and Tiling
Diving into the practical work of installing a backsplash, you begin with mastering the art of mortar application. To achieve a strong mechanical bond, apply the mortar directly onto the substrate instead of the tile’s back.
With the flat side of a trowel, key in a coat of mortar, then spread it consistently in one direction—either east to west or south to north—with a notched trowel. Align trowel ridges in straight lines for ideal mortar distribution and air removal, ensuring tiled air release by positioning the ridges parallel to a rectangular tile’s short side. While spreading the mortar, make sure not to leave any voids along the lines, as this can lead to insufficient tile adherence and potential issues down the line.
Select a trowel tailored to your tile size. For smaller tiles, a ¼” x ¼” x ¼” notched trowel is perfect, while larger tiles may require a heftier ½” x ½” version. Always check tile specifications for specific recommendations.
Set the tile into freshly spread mortar, sliding it back and forth perpendicular to the trowel ridges to collapse them into valleys. This helps attain the crucial 95% mortar coverage in wet areas.
Use a bearing block and rubber mallet to secure the tile, flattening the mortar surface and eliminating potential voids for a flawless, professional finish.
Grouting and Finishing Touches
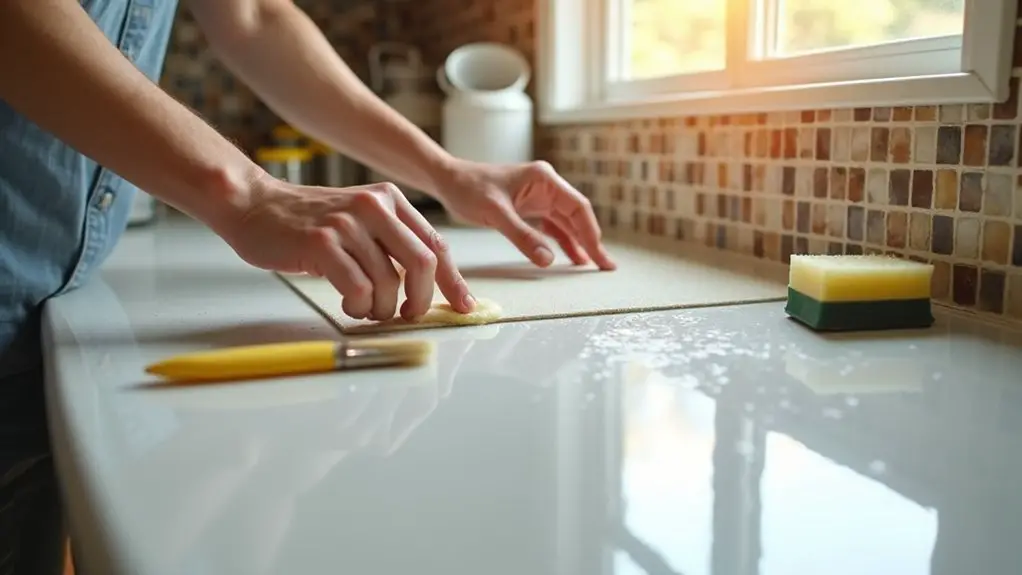
Once your tiles are securely in place, it’s time to tackle the grouting and finishing touches, a critical step that will seal your work with style and durability.
Begin by protecting your countertops with plastic sheeting, securing it with painter’s tape to prevent any grout mishaps. Clear your workspace of kitchen items for seamless access to your tools and guarantee the grout lines are clean and prepped.
Divide your project into manageable sections, a strategy that enhances precision and efficiency.
Grout mixing comes next; aim for a peanut butter-like consistency if you’re mixing from scratch. It’s essential to follow the manufacturer’s instructions carefully to achieve this consistency accurately. Apply using a grout float at a 45-degree angle, pressing firmly to fill all crevices.
To maintain efficiency, remember:
- Avoid immediate proximity to countertops and cabinets for later caulking.
- Apply as much grout as you can within a 20-minute window to prevent premature drying.
- Keep multiple buckets — one for clean water, another for sponge rinsing.
Once you’ve applied the grout, let it dry slightly before using a damp sponge to remove excess in a circular gesture.
Finally, seal the grout, caulk gaps, and clean any haze for a flawless finish.
Frequently Asked Questions
How Do I Choose the Right Tile for My Kitchen Style?
Consider your kitchen’s vibe first. Match tile material, color, and size with existing decor. When choosing, guarantee durability and moisture resistance. Explore a mix of classic or modern designs, considering grout color for cohesive, stylish unity.
What Type of Mortar Is Best for Installing a Backsplash?
When jousting with backsplash installation, choose thinset for moisture-heavy areas; it’s robust, resists water, and suits various tiles. Opt for mastic on dry, vertical surfaces; it’s faster to apply, especially with ceramic or porcelain tiles.
Can a Backsplash Be Installed Over Existing Tiles?
Yes, you can install a backsplash over existing tiles. Confirm they’re crack-free, level, and clean. Use proper adhesive and tools. Avoid glossy tiles unless prepped for adhesion. Removing old tiles often provides superior aesthetics and functionality.
How Do I Maintain a Grout-Free Backsplash?
Did you know 80% of grout-free backsplashes reduce cleaning time by half? To maintain them, wipe daily, perform weekly cleanings with non-abrasive cleaners, avoid excessive scrubbing, and reapply any necessary sealants to preserve their pristine look.
What Are the Best Practices for Ensuring Tile Longevity?
You maintain tile longevity by cleaning regularly, avoiding harsh chemicals, drying thoroughly, and sealing grout. Inspect for damage, replace cracked tiles, and re-grout when necessary. Consistent maintenance paired with attention to detail assures lasting beauty.