Step-by-Step Guide to Building Your Dream Deck
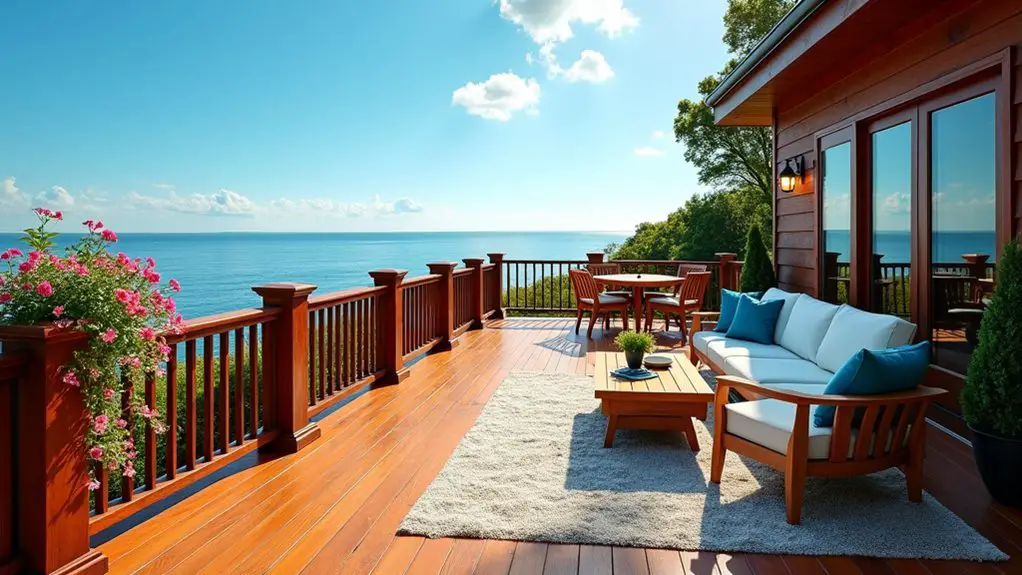
Did you know that nearly 65% of homeowners view their outdoor space as a primary relaxation area? Building your dream deck can enhance your home’s value and provide the perfect spot to unwind. But where do you start? Understanding your project scope and budgeting are vital first steps, ensuring you don’t encounter unexpected surprises. We’ll guide you through selecting the perfect location that maximizes sunlight and privacy, to choosing materials that stylishly blend with your home. Stick around to learn how each essential phase can help you construct a deck worthy of your vision.
Budget and Project Complexity
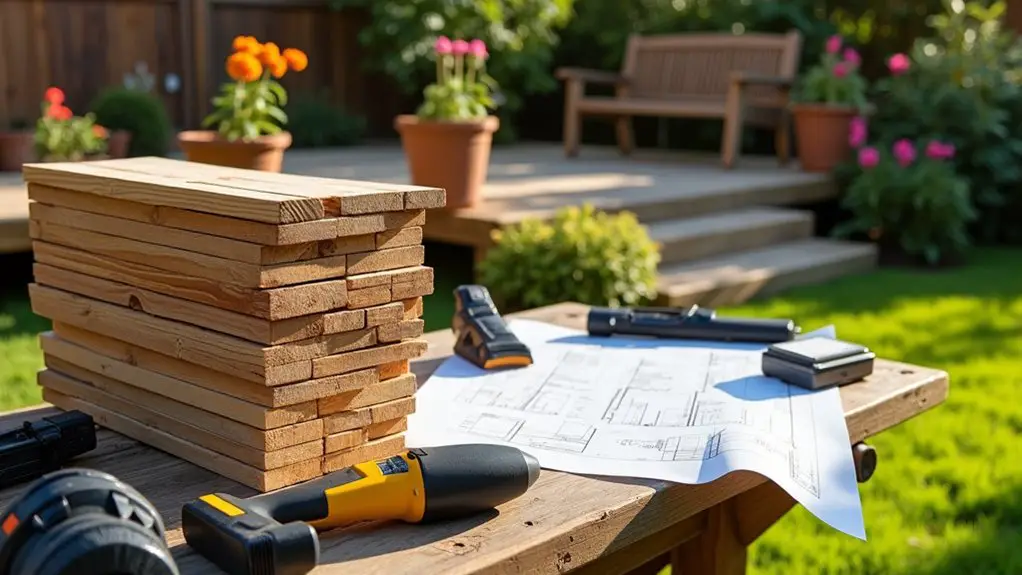
When planning to build your dream deck, having a clear budget and understanding the project’s complexity are vital steps that can greatly affect your decision-making process.
Begin by calculating the cost per square foot, considering decking materials ranging from $15 to $30, and composite materials from $30 to $60. For instance, a 320-square-foot cedar deck might cost around $5,250 in materials, while its composite counterpart might total $10,500. Construction budget involves cost, square footage, and material quality, which are crucial considerations for any decking project.
Don’t overlook labor, which can add $15 to $35 per square foot based on installation complexity and material choice.
Recognize that the national average to construct a deck is about $8,157, but this fluctuates between $4,348 and $12,479 factoring in materials, labor, and extras like hardware or balusters.
Project complexity is significant; intricate designs necessitate precise measurements and sophisticated joinery, thereby extending timelines and costs. Larger decks or those requiring demolition, handling difficult soil conditions, or enduring adverse weather conditions will see escalated expenses.
Elevated decks entail additional structures, increasing overall expense and intricacy.
Permits and jurisdictional compliance can demand time and financial resources, so planning for these variables early in the project is essential for maintaining control over budget and execution.
Selecting Deck Location
Choosing the right location for your deck involves evaluating multiple factors to confirm both functionality and aesthetic appeal.
Start with sun exposure, which influences comfort and usability. In a hot climate, a shaded spot during the afternoon is essential. Consider placing the deck strategically near trees or incorporating a pergola for natural shade. Carefully analyze the sun’s trajectory across your garden throughout the day to ascertain your deck’s suitability for sunny and shaded conditions. Strategic placement of your deck will enhance enjoyment without excessive heat.
Access to and proximity to your house also plays an important role in the deck’s location. Ideally, the deck should extend seamlessly from your interiors, enhancing the flow of movement. Position it close to the kitchen for easy outdoor dining or near the living room to expand entertainment spaces. Efficient access to indoor amenities like the bathroom is equally important.
Furthermore, assess views and landscaping to maximize the visual appeal. Select a site that complements existing garden features, allowing you to enjoy scenic vistas. Confirm the deck doesn’t obstruct the beauty of the surrounding landscape.
Finally, prioritize privacy by positioning the deck away from neighbors or using screens, plants, or lattice panels to obscure views, especially around pools or hot tubs.
Understanding Building Codes
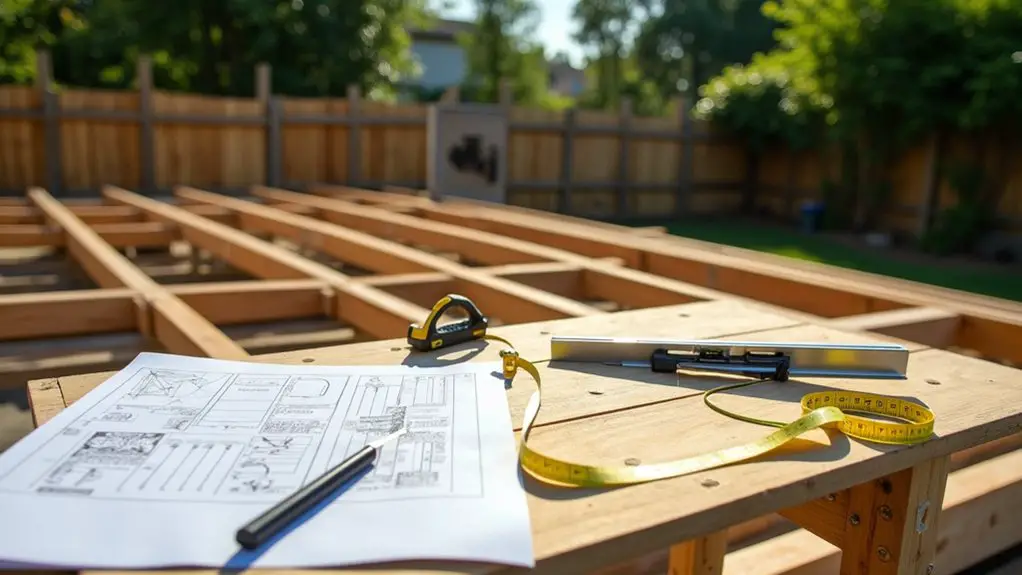
Understanding building codes is crucial when constructing your dream deck, as they assure the safety and durability of your structure. Codes are location-specific and you need to obtain a building permit, especially if the deck attaches to your house. Local building authorities provide the necessary guidelines and permits.
Here are important code considerations:
1. Load and Dimensions
Confirm your deck can support a minimum load of 50 pounds per square foot. The stairway must be at least 36 inches wide. Consistency in riser heights and tread depths is critical to avoid safety hazards. Freestanding decks may have different requirements, and consulting local codes is essential for compliance.
2. Ledger Board Specifications
Use ledger boards that are at least 2″ x 8″ and match or exceed the joists’ width. They must securely attach to the house’s foundation or framing, following local directives.
Remove any exterior finishes at the attachment point, and install flashing for additional protection. Hold-downs or tension devices must have a load capacity of at least 1,500 pounds.
3. Railing and Guard Requirements
Decks higher than 30 inches off the ground require guards. Handrails on stairs should be between 34″ and 38″ in height, measured from the stair tread’s nose.
Following these codes guarantees a safer, long-lasting deck.
Material Selection Tips
Selecting the right materials for your dream deck requires a keen understanding of the strengths and limitations of each option. Traditional wood, including pressure-treated lumber, cedar, and Ipe, offers natural beauty and affordability but demands regular maintenance to prevent rot and decay. These options might fit a budget but can escalate your workload with maintenance checks every year or two. Consider whether you’re prepared for higher long-term costs associated with these choices. Always keep in mind that choosing the right spot for your deck can optimize interaction with existing property features and enhance your outdoor experience. Composite materials, a savvy blend of recycled wood and polymers, deliver the aesthetic appeal of natural wood while promising minimal upkeep and exceptional durability. Their engineered capping protects against weather, offering beauty and longevity with low maintenance. They’re a practical choice if you prioritize sustainability and endurance. Advanced PVC decks push these benefits further, offering the luxury of real wood aesthetics with exceptional weather resistance. Made predominately from recycled materials, they provide a cost-effective long-term investment given their durability and low maintenance. When deciding, weigh factors like maintenance requirements, durability, aesthetic preferences, and budget. Examine how each option aligns with your lifestyle and home’s architectural style, ensuring the materials selected enhance your outdoor living space.
Designing Your Perfect Deck
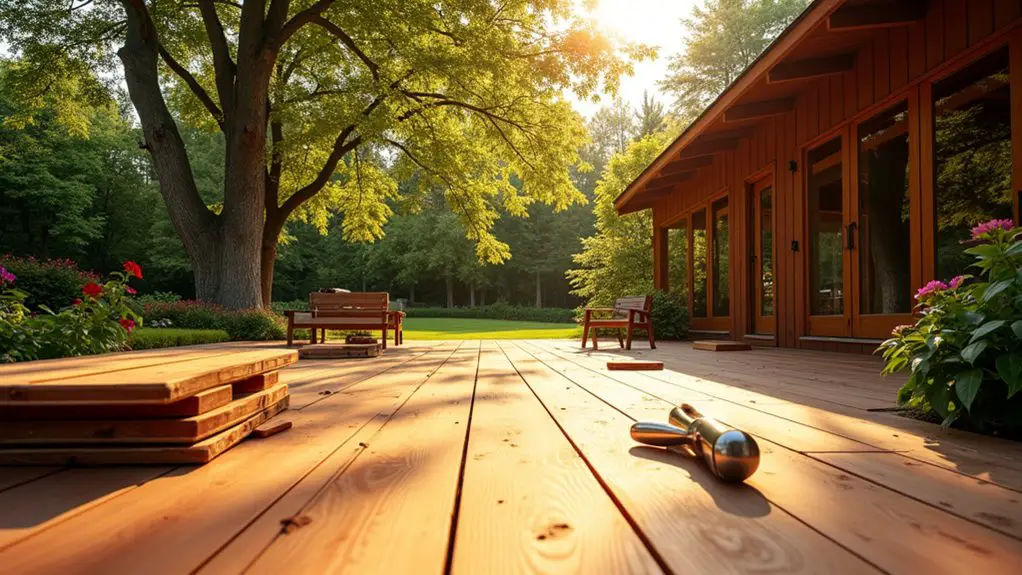
After settling on materials that align with your vision and lifestyle, it’s time to bring that dream deck to life through precise design choices.
Start by considering the view your deck will offer. You should position the deck to showcase key elements such as garden vistas, water features, or scenic horizons. Utilize features like corner seating or raised platforms to capitalize on those views.
Next, frame these vistas with strategic railings or low planters, drawing attention without blocking the scenery.
Addressing the functionality of your deck is key:
- Functional Zones: Divide your deck into activity-oriented zones—perhaps a cooking zone with an outdoor kitchen, a dining area, and a lounging zone. This structured design enhances usability and flow.
- Multi-Level Design: For dynamic layouts, implement multi-level decks, dedicating specific levels to different activities like dining on top and relaxing by a fire pit below. Consider including covered decks in your design to enhance usability during inclement weather and protect entryways from rain.
- Built-In Features: Integrate built-in benches and planters for seamless seating and natural zoning without clutter.
Lastly, design your deck’s size and shape to align with your home’s architecture. Avoid the monotony of rectangles by incorporating angled bump-outs, and always guarantee proportions fit the space.
Site Preparation Steps
Before you start building your dream deck, accurate site preparation is essential. First, measure the length and width of your designated deck area with precision. Guarantee the surface is level and devoid of debris. Use spray paint or landscaping paint to outline the dimensions, providing a clear visual of your deck’s size and shape. Establish the perimeter with stakes and string, and verify squareness by measuring diagonally across the corners.
Next, tackle clearing the area by removing grass, weeds, and vegetation. A sod cutter is effective for extracting grass with roots intact. Dig out any stubborn roots or stumps; for the toughest ones, a pickaxe may be necessary. Eliminate all debris and rocks that could disrupt the foundation’s stability.
In ground preparation, verify the absence of underground services before digging post holes. Adhere to local codes for dimensions, then fill these with concrete to craft durable footings and piers. Ensure that the footings are deep and wide enough to comply with local regulations; this helps prevent heaving during frost. Lay landscaping fabric on the soil to control weed growth and add approximately 3 inches of granular stone for ideal drainage.
Finally, create a base layer using crushed stone for its drainage properties. Spread and level the gravel, compacting it firmly to prevent settling, and guarantee a robust foundation for the deck.
Building the Substructure
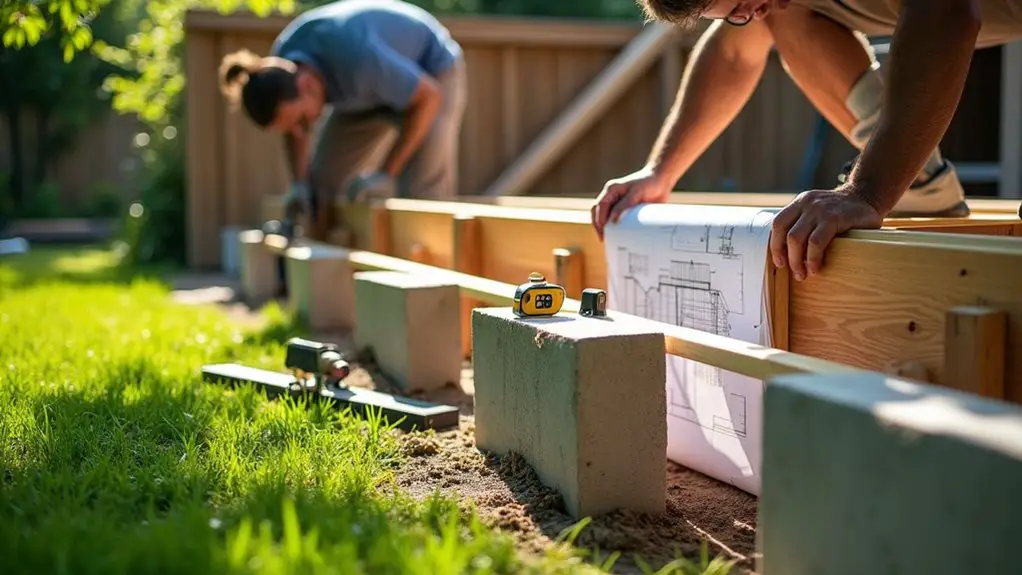
Making certain of a solid start, building the substructure is critical to your deck’s durability and safety. Begin with footings; they distribute the load and must be concrete pillars extending below the frost line in cold climates. Dig holes according to local codes, using quick-set concrete to make certain level footings. Precision here sets the stage for success.
Support posts and beams follow. Install metal brackets on footings to secure posts, making sure posts sit above grade. Attach beams alongside joists for added deck strength. Consider bracing for elevated decks to avoid buckling. Pay attention to correct placement for structural integrity.
Joists and blocking form the frame. Position joists 12″ to 16″ apart, adding blocks between, in a zigzag pattern every 4′ to 6′, to prevent movement. Focus on level alignment across all components. Here, precision isn’t optional.
To solidify your substructure, use the right hardware:
- *Joist hangers*: Support and secure joists.
- *Fasteners*: Make certain connections are robust.
- *Noggins*: Reinforce for added stability.
Adhering to local building codes and observing necessary clearances is non-negotiable for a structurally sound deck. Hiring a contractor ensures compliance with codes and design preferences, providing professional skills and equipment for enhanced project quality. Make certain all elements align for long-term durability.
Decking Material Installation
One critical step in building a deck that stands the test of time is the precise installation of decking material. Begin by determining your decking span and verifying the frame is level throughout. Check the required joist spacing based on the decking profile to avoid board bending. Ascertain the area is clear of obstructions, leveled, and any drainage issues are resolved. Outline the deck’s footprint using string or spray paint to guide you.
Start by installing the first decking board with a starting accessory, pre-drilling into the joist before securing it. Push the board firmly into place, leaving a 10-millimeter expansion gap against fixed structures. Attach clips to the grooves but avoid over-tightening, guaranteeing the board doesn’t overhang the joist by more than 25 millimeters. It’s important to select durable materials; for instance, Ipe wood, recognized for its durability, is an excellent choice for longevity.
For the subsequent boards, slide clips into grooves and fasten them with a screw on each joist. Maintain expansion space between the ends.
For a seamless finish, use hidden fasteners after the initial board. Face fix the last board at each joist, pre-drilling to maintain structural integrity.
Install fascia boards with proper screws and spacing for stability. Finally, attach end caps to hollow boards if necessary.
Essential Finishing Touches
The art of detail can elevate your deck from a simple outdoor space to a personal haven. Begin by considering the vital finishing touches that lend both style and practicality.
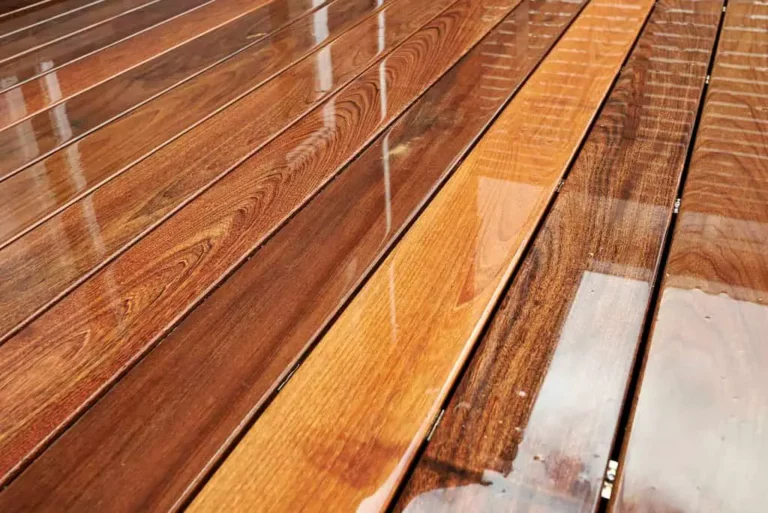
First, staining and sealing your deck is essential for both aesthetics and protection against weather. Choose a stain like rich mahogany, warm cedar, or contemporary gray to complement your home’s exterior. Clean the surface thoroughly and let it dry before applying two coats of stain evenly with a brush, stain pad, or sprayer, making sure each coat dries fully.
For added safety and style, incorporate handrails and stairs. Install handrails that not only harmonize with your deck’s aesthetic but also provide vital support. Ensure the use of treated wood for railing construction as it adds durability and consistency to the framework. Verify railing posts are plumb and securely anchored, attaching railing sections and balusters according to safety codes.
Enhance your deck’s elegance with decorative features:
- Lattice Panels: Use them for privacy and as a decorative backdrop.
- Post Caps: They offer a polished finish and can reflect your style.
- Final Sanding: Lightly sand surfaces to remove imperfections.
With these touches, your deck becomes a bespoke outdoor retreat, striking the perfect balance between form and function.
Long-Term Deck Maintenance
Start by prioritizing consistent upkeep to extend your deck’s lifespan and maintain its appeal. Regularly sweep away debris to prevent clutter and potential damage. Use mild soap to remove stubborn stains and grime, ensuring your deck’s surface remains pristine.
Periodically pressure wash the deck carefully, so you don’t damage the boards. Pay special attention to corners and spaces between boards where debris can accumulate. Routine inspections are essential; check for loose boards or protruding nails, addressing hazards promptly. Regularly inspect the ledger boards and joists to detect potential issues early, ensuring long-term structural safety.
For repairs and hardware maintenance, examine your deck for considerably worn hardware or boards requiring replacement. Fix loose screws immediately to avert severe damage. Be vigilant for rot or insect damage, especially on wooden decks, and act swiftly to maintain structural integrity.
Replace damaged or rotten boards without delay to keep your deck sound. Apply sealants or stains to wood decks for protection against moisture and UV damage. Select high-quality products suited to your deck material and climate. Reapply every two to three years, cleaning beforehand for proper absorption. Consider borate to deter algae buildup.
Adapt your maintenance routine seasonally. Before winter, clear debris and clean thoroughly. In spring, inspect for winter impacts, preparing for summer’s increased use.
Frequently Asked Questions
How Do I Incorporate Eco-Friendly Practices Into My Deck Construction?
You might worry eco-friendly decking is expensive, but smart planning dispels that. Choose reclaimed or FSC-certified wood, efficiently cut materials, and install LED lighting. Use composite or bamboo for sustainability, ensuring durability with energy-efficient benefits and minimal waste.
Can I Build a Deck on Uneven Terrain?
Yes, you can build a deck on uneven terrain. Level the ground efficiently, dig deep foundation holes, and guarantee solid soil contact. Concrete footings stabilize your deck, while adjustable supports accommodate slope variations for a precise, durable installation.
What Are the Benefits of Hiring a Professional Vs DIY?
Hiring professionals reduces construction errors by 60%, ensuring precise adherence to building codes. They’ll expertly manage material selection, structural integrity, and ideal design layouts, saving you time and maximizing both durability and aesthetic appeal of your deck.
How Do I Add a Hot Tub to My Deck Design?
Consider your hot tub’s location for access and privacy. Verify your deck supports its weight by evaluating load requirements. Level the ground, handle electrical needs with a licensed electrician, and choose installation style: ground-level or recessed.
What Safety Precautions Should I Take During Deck Construction?
While building your deck, don’t forget to channel your inner Sherlock Holmes. Inspect for proper ledger board attachment, comply with local codes, use corrosion-resistant fasteners, and install guardrails above 30 inches to guarantee safety and compliance.
