Installing a Ceiling Fan: A Beginner’s Guide
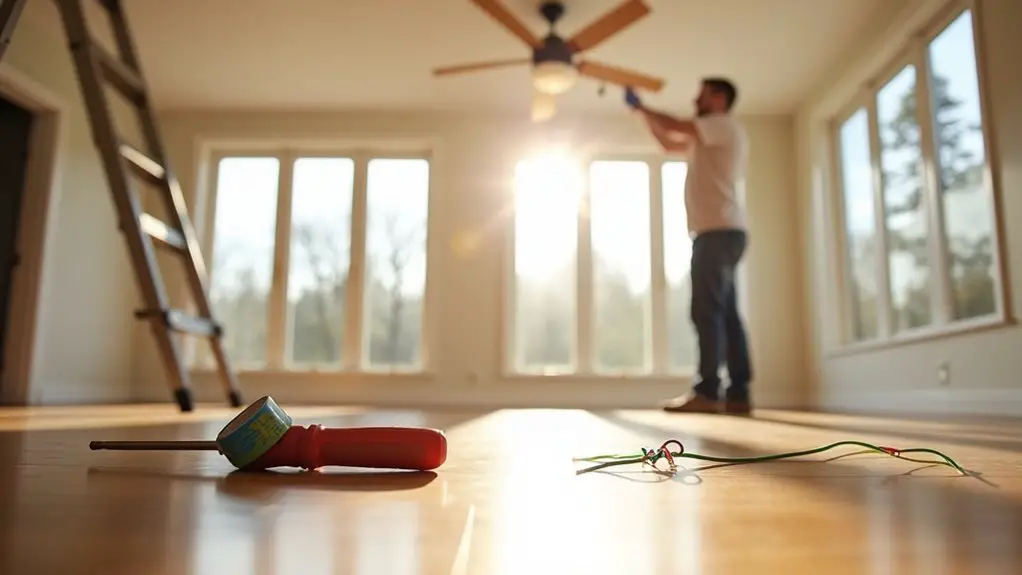
Installing a ceiling fan can seem intimidating, but it’s a manageable task for beginners. By following a few simple steps, you can enhance your room’s comfort and style. You’ll need some basic tools and safety gear. Starting with the right precautions can make all the difference. Are you ready to transform your space? Let’s explore how to get that fan up and running smoothly.
Tools You Will Need
Before you start installing your ceiling fan, it’s vital to gather the right tools. First, you’ll need a ladder to reach the ceiling safely. A screwdriver—preferably a Phillips head—is essential for securing the fan to the mounting bracket. You’ll also want a wire stripper for prepping the electrical wires. A voltage tester guarantees the wires are safe to handle. Additionally, having pliers on hand will help with tight connections. A level is useful to assure your fan hangs straight. If your fan requires assembly, also grab a wrench for any nuts and bolts. Finally, don’t forget a flashlight, as you might need more light while working in darker corners. With these tools, you’ll be ready to tackle your ceiling fan installation confidently.
Safety Precautions
While installing a ceiling fan can be straightforward, prioritizing safety is essential to prevent accidents or injuries. First, always turn off the power at the circuit breaker before beginning work. Use a voltage tester to verify that no electricity is present in the wires you’ll be handling. Wear safety goggles to protect your eyes from debris, and if you’re working on a ladder, have someone hold it steady for you. Don’t forget to use insulated tools to further reduce the risk of shock. It’s also wise to check that your fan’s mounting hardware is secure and suitable for your ceiling type. Finally, keep your work area clean and free of distractions for a safer installation process.
Removing the Old Fixture
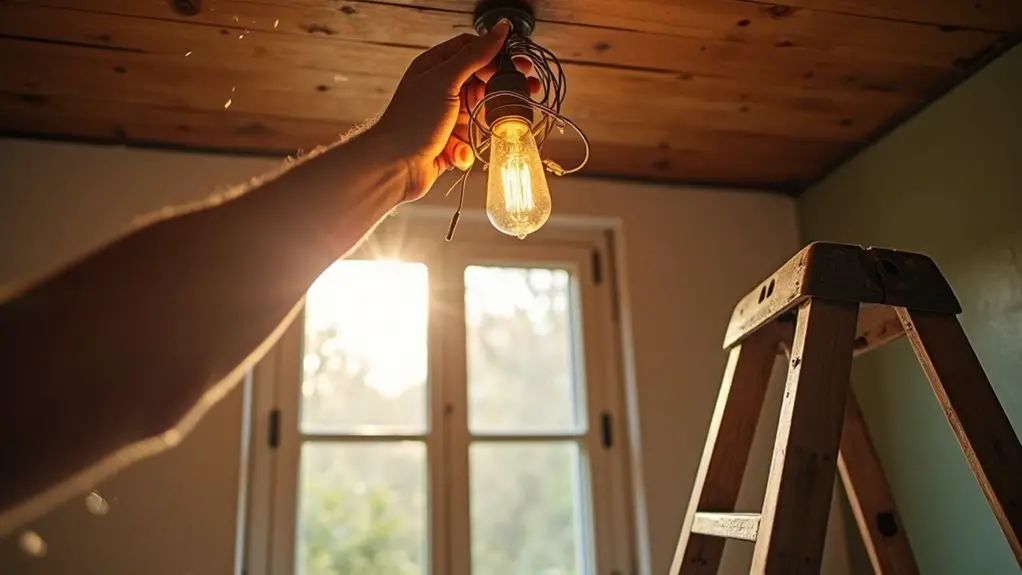
Start by carefully removing the old fixture to make way for your new ceiling fan. First, turn off the power at the circuit breaker to guarantee safety. Use a screwdriver to unscrew the light bulbs and remove the shade, if applicable. Next, detach the fixture from the ceiling by unscrewing any mounting screws or nuts. As you do this, support the fixture with one hand to prevent it from falling. Once it’s free, locate the wiring connections. You may find wire nuts securing the wires; carefully untwist these and separate the wires. Remember to take note of how the wires are connected, as this will help later. After everything’s disconnected, clear the area to prepare for the installation of your new ceiling fan.
Installing the New Ceiling Fan
Once you’ve prepared the ceiling, installing your new ceiling fan is a straightforward process. Follow these steps to get it done efficiently:
- Attach the mounting bracket: Secure the bracket to the ceiling using the supplied screws. Make sure it’s firmly in place.
- Connect the wiring: Match the wires from the fan to the wires in the ceiling. Usually, you’ll connect black to black, white to white, and green or bare to ground.
- Hang the fan: Lift the fan motor and attach it to the mounting bracket. Verify it’s securely fastened.
- Install the blades: Finally, attach the fan blades as per the manufacturer’s instructions, ensuring they’re evenly spaced.
Now you’re ready to enjoy the cool breeze!
Final Checks and Maintenance Tips
After you’ve installed your ceiling fan, it’s vital to conduct a few final checks to verify everything operates smoothly and efficiently. First, make certain all screws and bolts are tightened properly to prevent wobbling. Next, test the fan’s speed settings and direction. The direction should be set to counterclockwise for cooling in summer and clockwise for warmth in winter. Listen for any unusual noises; if present, check the mounting and blades for any loose parts. Regular maintenance is essential, too. Dust the blades monthly and check for debris in the motor or pull chain. Finally, annual inspections can keep your ceiling fan running efficiently, guaranteeing you enjoy a comfortable environment for years to come.