How to Lay Laminate Flooring: A Beginner’s Tutorial
When laying laminate flooring, it’s essential to understand that the subfloor must be level within 3/16 inch for every 10 feet to guarantee a stable and even installation. This often overlooked detail can make a significant difference in the longevity and appearance of your new floor. Before you start, you’ll need to prepare your subfloor, which involves checking for any damages, filling in grout lines if using tile, and making certain the surface is clean, dry, and structurally sound. After acclimating your laminate planks for 48 hours, you’ll be ready to move on to the next steps, including installing the underlayment and beginning the actual installation process.
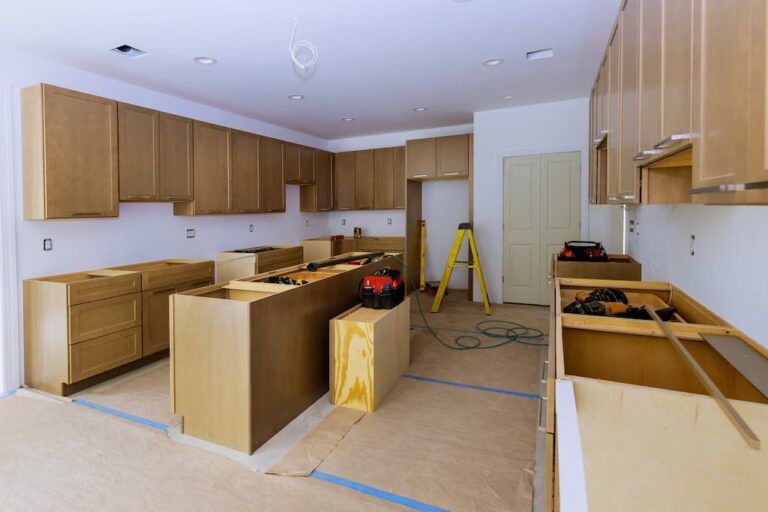
Preparing the Subfloor
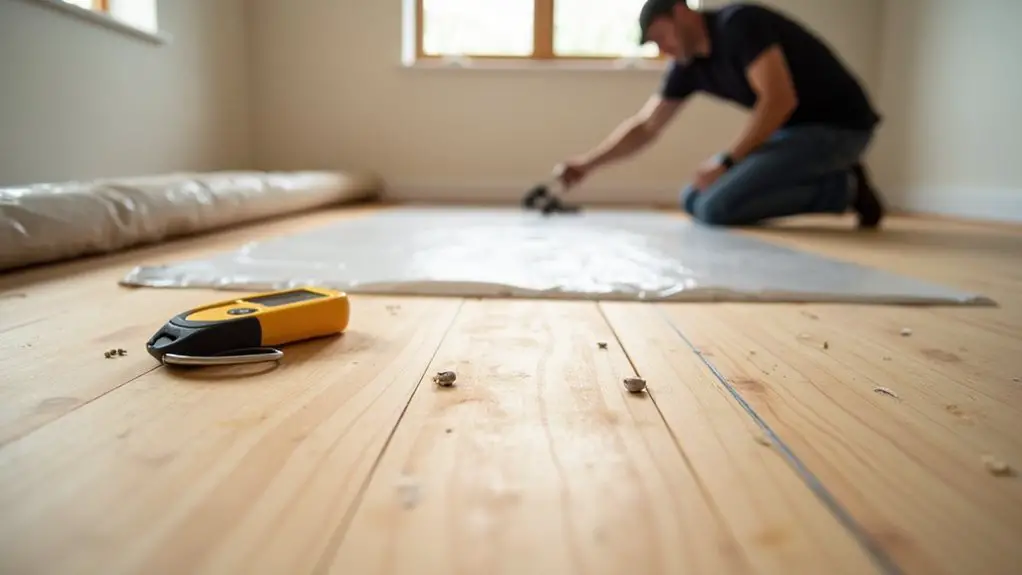
When preparing to lay laminate flooring, verifying your subfloor is in ideal condition is essential. Start by inspecting the subfloor for any defects, damage, or irregularities. The subfloor must be level, with a tolerance of no more than 3/16 inch in 10 feet. Use a moisture meter to verify the subfloor is dry, as high moisture can lead to damage; the reading should be less than 12%.
Clean the subfloor thoroughly by sweeping and vacuuming to remove dust, debris, and dirt. Fill any low spots with patching compound and sand down high spots to achieve a smooth surface. Verify the subfloor material is suitable; exterior grade plywood, OSB board, and concrete (at least one month old) are acceptable. If using a concrete subfloor, consider installing a moisture barrier to prevent future issues. This is particularly important since basements typically have cement subfloors. Finally, check for any structural integrity issues such as loose screws or moisture damage, and repair them as needed.
Acclimating the Laminate Planks
Before you begin installing your laminate flooring, it is essential to acclimate the planks to the temperature and humidity conditions of the installation room. This process allows the planks to adjust, preventing warping and gaps. Generally, manufacturers recommend acclimating the flooring for at least 48 hours, but always follow the specific instructions provided.
Laminate flooring, with its porous core, is highly sensitive to environmental changes, making acclimation crucial. Place the unopened packages in the center of the room, away from walls and vents, and lay them flat or stack them in a grid pattern to prevent warping. Maintain temperatures between 60-85°F and humidity levels between 35-65%. Avoid stacking cartons vertically, as this can cause bowing in the boards. Verify the subfloor is moisture-controlled and inspect the planks for any damage before installation. This careful preparation will make the installation smoother and help prevent future issues like buckling and excessive movement.
Installing the Underlayment
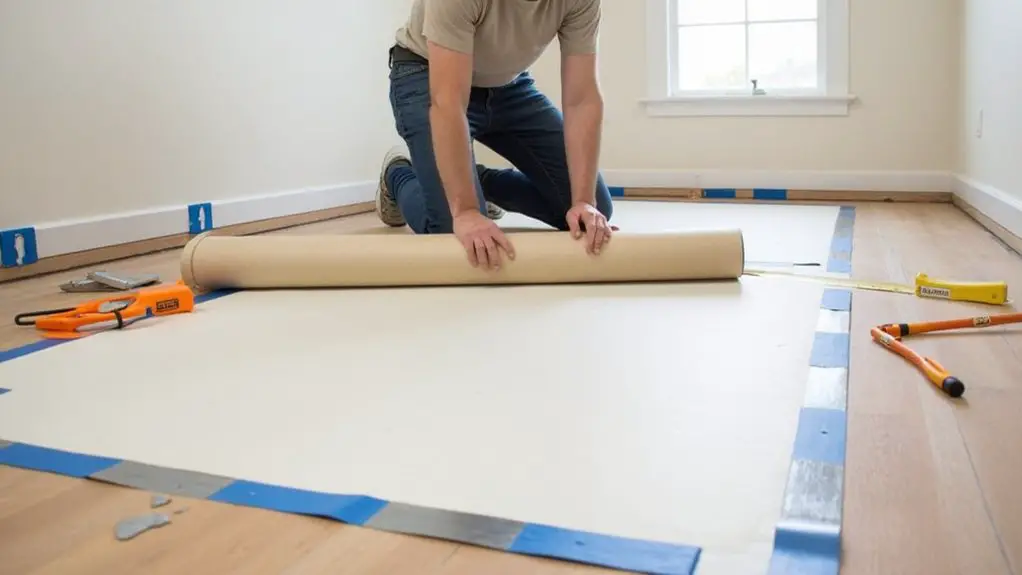
To guarantee a stable and durable laminate floor, installing the underlayment is an essential step. Start by confirming your subfloor is clean, flat, and free of debris. Roll out the underlayment from one wall, working in sections, and trim it to fit, leaving no overlaps or gaps. For standard foam underlayment, which is suitable for plywood and OSB subfloors, use a thickness between 3mm and 5mm. In moist areas like basements or bathrooms, opt for combination foam underlayment with a vapor barrier.
Secure the underlayment edges and seams with duct tape or seam tape. Confirm the underlayment is smooth and even to prevent distortions in the flooring. Leave a 1/4-inch gap around the perimeter for expansion and contraction. Work section by section to prevent excessive underlayment exposure before covering with flooring planks. This careful installation will provide the necessary protection and comfort for your laminate floor.
Cutting and Preparing the Laminate Planks
With the underlayment securely in place, you can now focus on cutting and preparing the laminate planks. To start, gather the right tools: a laminate flooring cutter for short straight cuts, a miter saw for crosscuts and angles, a table saw for ripping boards to width, and a jigsaw for curved cuts.
Mark the cut line on the plank using a pencil, making sure it is at the very edges of the laminate flooring. Apply painter’s tape across the marked line to prevent chipping. Clamp the plank to a worktable or sawhorses to secure it during cutting.
When using a laminate flooring cutter, it is ideal for short straight cuts and ensures the laminate is cut without chipping. Use a sharp fine-tooth blade to prevent chipping and guarantee clean cuts. For power tools, adjust the saw depth to slightly more than the thickness of the laminate plank. Wear protective gear like safety glasses and gloves. Support the material with a free hand to prevent it from snapping during cutting. Cutting in small areas helps maintain control and precision.
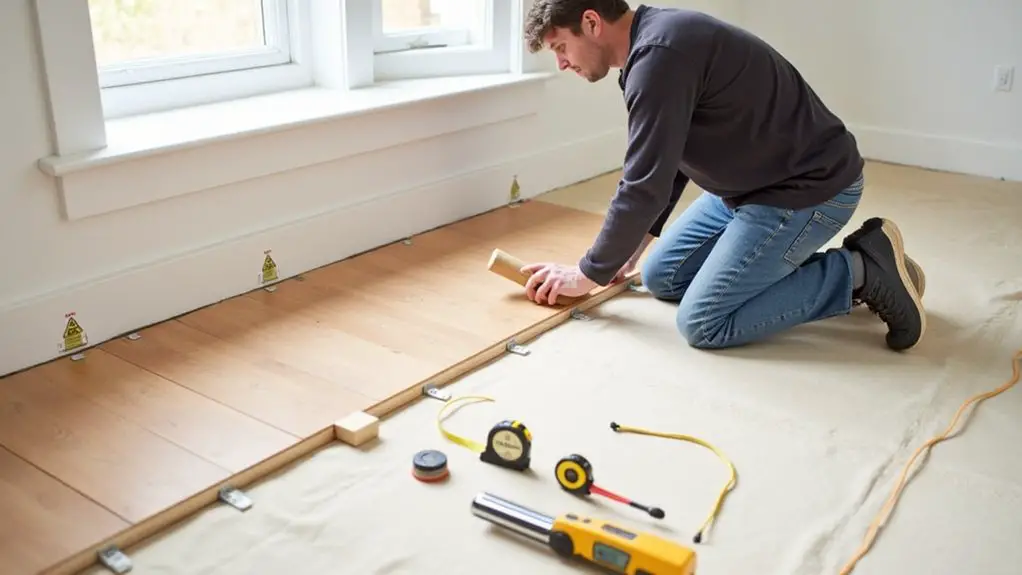
Installing the First Row of Planks
To install the first row of laminate planks, start by verifying your subfloor is ready. Remove the existing flooring and inspect the subfloor for levelness and cleanliness. Ascertain it is free from mold, mildew, and unevenness, with less than ¼ inch of variation across a 10-foot room.
Next, lay out your underlayment, securing it with tape to prevent movement. Measure and mark the wall with a chalk line for alignment. Start the first row on a straight wall, using spacers to maintain a ⅜-inch gap for expansion. Lay the planks with the cut edge toward the wall and the tongue facing the wall. Snap the pieces together by pressing firmly, and secure the first row with temporary fasteners or clamps to prevent movement.
It is also crucial to cut door jambs to ensure the laminate flooring fits properly and maintains the necessary gaps for movement.
Measure multiple times to verify accurate positioning, and mark and cut the final plank to fit the remaining space with the ⅜-inch gap. This careful approach will help you build a solid foundation for the rest of your laminate flooring installation.
Installing Subsequent Rows of Planks
After securing the first row of laminate planks, you can proceed to install the subsequent rows, guaranteeing a strong and visually appealing floor. To maintain a staggered pattern, start each new row with the leftover piece from the previous row. This technique not only reduces waste but also guarantees that the seams are offset by at least 6 inches, which is essential for structural integrity and aesthetic appeal.
To achieve a random look, consider laying out multiple rows at once, using a full strip, a 2/3 strip, and a 1/3 strip as starter pieces, which helps in randomizing end joints.
Use the tongue and groove mechanism to snap the pieces together, guaranteeing proper alignment before applying any force. Employ a pull bar and tapping block with a rubber mallet to guide and secure the planks. Maintain ⅜-inch gaps at the ends of each row for expansion. Avoid aligning seams directly next to each other and guarantee the tongue of each plank faces the wall if starting with a cut piece. This approach will help you achieve a professional-looking installation with minimal pattern repetition.
Finishing the Last Row and Adding Final Touches
When you reach the final row of your laminate flooring installation, precise measurements and careful cutting are essential to guarantee a seamless finish. Measure the width needed for the last row at multiple points, considering any wall irregularities, and subtract 1/4 inch for expansion and contraction space. Mark these measurements on both ends of the plank to verify accurate cutting. Use a straight edge or a full plank to draw the cutting line.
Cut the plank using a jigsaw, table saw, or skil saw, and check the fit before proceeding. Apply glue to the groove of the installed plank and use a pull bar to lock the new plank in place. Tap it gently to avoid damaging the end joint. If necessary, undercut door jambs with an oscillating tool to secure the planks underneath. Ensure you maintain a ⅜-inch gap for expansion throughout the installation. Finally, verify there is an appropriate expansion gap and install baseboards or quarter rounds to cover it.
Conclusion
With your laminate flooring now in place, your room transforms into a sleek, polished space. The click of each plank into position is like the final piece of a puzzle, completing the picture. Remove the spacers, reinstall the baseboards, and your new floor is ready to withstand the bustling rhythms of your home. The result is a durable, elegant surface that will endure for years to come, a reflection of your DIY prowess.