How to Install Drywall Like a Pro: Step-by-Step Guide for DIYers
Is it really possible to install drywall like a pro without years of experience? With the right approach and techniques, you can achieve professional results in your own home. From understanding materials to mastering installation tips, you’ll find each step critical. Let’s explore how to transform your space with drywall, ensuring a flawless finish that impresses everyone who sees it.
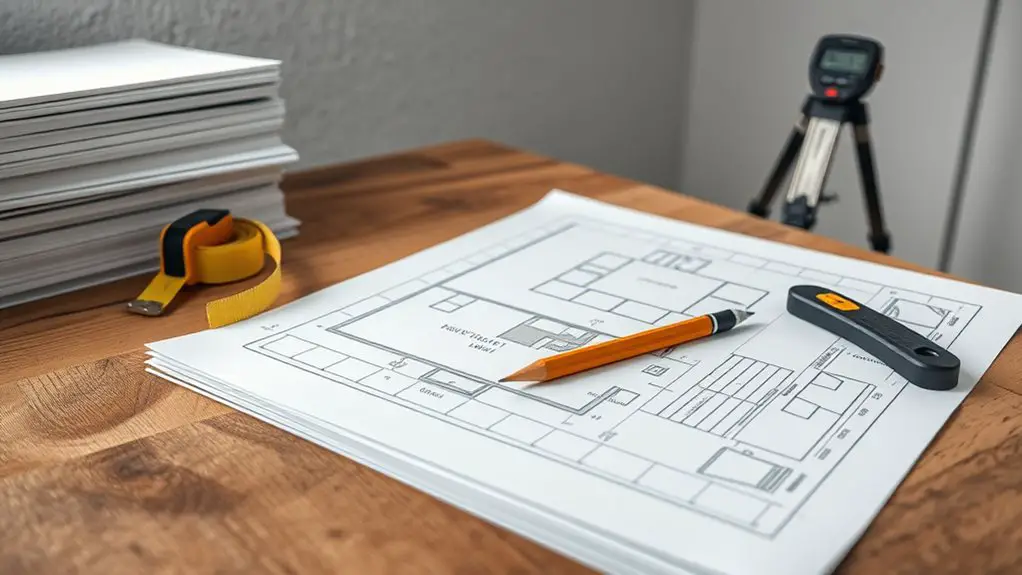
Understanding Drywall and Its Materials
When you consider renovating or building interior walls and ceilings, understanding drywall and its materials is vital.
Drywall, or gypsum board, has a gypsum core sandwiched between two paper layers, making it lightweight and cost-effective. You’ll encounter various types of drywall, including moisture-resistant options for humid areas and fire-resistant panels for safety.
Standard drywall sheets typically measure 4×8 or 4×12 feet, helping to minimize seams during installation. For hanging drywall, use drywall screws, ideally 1-1/4 inch for standard sheets.
Follow fastening guidelines like staggering seams and utilizing tapered edges to guarantee a smooth finish after applying joint compound. With basic tools in hand, you’re ready to tackle drywall installation with confidence!
Installing drywall efficiently requires the right tools at your side. Having the proper equipment not only simplifies the process but guarantees a professional finish. Here’s what you need:
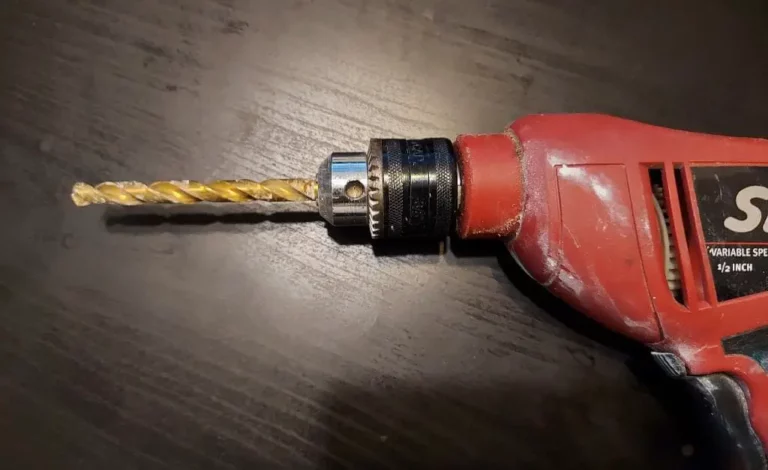
- Cordless Drill or Screw Gun: Essential for securely fastening drywall sheets to studs.
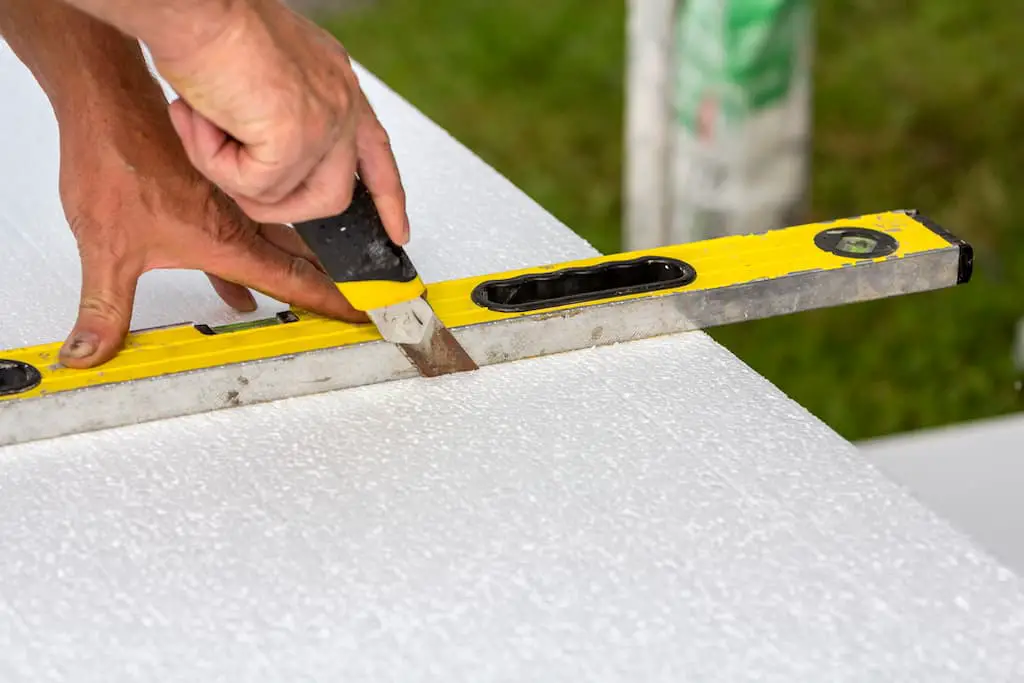
- Utility Knife & T-Square: Vital for accurately measuring and cutting sheets to minimize waste.
- Drywall Lift: This tool provides support and assists with hanging heavy ceiling sheets, making the task easier.
- Safety Glasses & Dust Mask: Protect yourself from dust and debris during installation for a safer working environment.
Remember to also have spackle knives on hand for applying joint compound over seams.
Following these fastening guidelines will guarantee a successful drywall installation.
Measuring and Planning Your Project
With your tools ready, it’s time to focus on measuring and planning your drywall installation. Start by measuring the total wall area to figure out how many drywall sheets you’ll need, making adjustments for windows and doors.
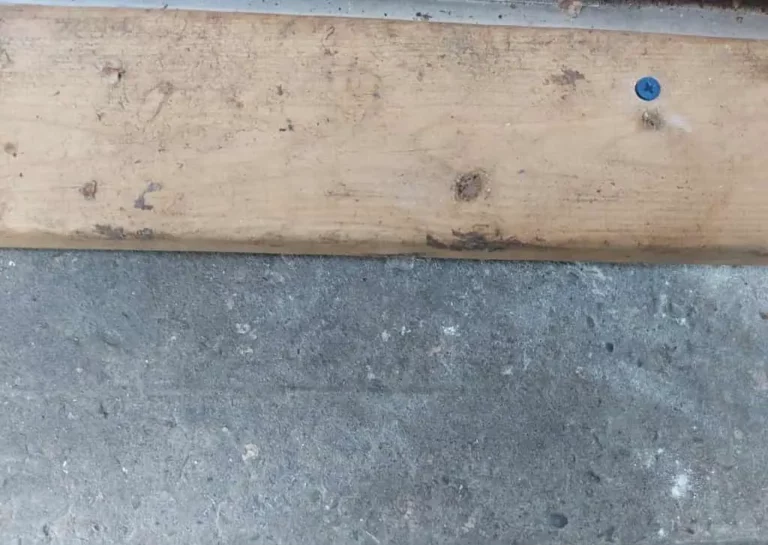
Use a stud finder to locate the stud positions, guaranteeing the drywall sheets are fastened securely for maximum stability. To aid your installation project, mark fastening guidelines every 12 to 16 inches along the walls using a drywall square.
Create a detailed wall layout that includes openings for outlets and fixtures to minimize cutting errors. Always remember to cut drywall sheets 1/4 inch shorter than your wall height to allow for expansion and guarantee a snug fit at the top.
Cutting and Fitting Drywall Sheets
Cut drywall sheets accurately to guarantee a smooth and professional installation. Follow these steps for cutting and fitting your drywall:
- Measure the wall height and cut your drywall sheets 1/4 inch shorter to allow for expansion.
- Use a utility knife and drywall square to score the paper face along your measurements; snap the sheet along the score line for clean edges.
- For complex cuts around outlets, use a drywall router for precise openings without damaging the material.
- Remove trim before fitting drywall around windows and doors to ascertain a snug fit.
Installing Drywall: Techniques and Tips
Achieve a professional finish by applying effective techniques during your drywall installation. Start by hanging drywall sheets horizontally to reduce seams and stagger them for greater stability.
Use drywall screws every 12 to 16 inches into the studs, ensuring they’re set slightly below the paper surface without breaking the gypsum core. For ceiling installations, a drywall lift makes it easier to manage heavy sheets.
When you need to cut the drywall for fixtures and electrical outlets, use a spiral saw or drywall router, measuring twice to avoid mistakes.
After fastening, check for protruding screws by running a putty knife across the surface, adjusting any screws that aren’t flush. Following these fastening guidelines will lead to a smooth, professional-looking result.
Finishing Touches: Taping and Painting
Once you’ve hung the drywall, it’s time to focus on the finishing touches, which include taping and painting. Follow these steps for a professional finish:
- Apply drywall tape over the seams using a 10 to 15-cm spackle knife.
- Cover the tape with joint compound, guaranteeing an even coat and feathering the edges for a smooth shift.
- Let the joint compound dry completely (about 24 hours), then sand between coats for a smooth surface.
- After the final coat dries, sand again with fine-grit sandpaper.
For the best results, always prime the drywall with a high-quality primer before painting. This enhances paint adhesion and guarantees a consistent color across your newly finished drywall installation.