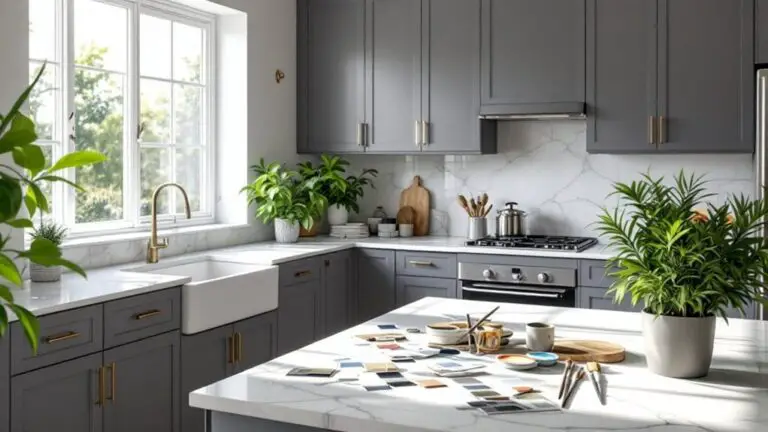
How to Install Crown Molding for a Professional Finish

When you’re ready to install crown molding for that professional finish, start by gathering your essential tools and materials. Accurately marking the installation area is vital, and a stud finder will be your best friend here. Precision is key when cutting the molding pieces, so a miter saw is your go-to tool. But don’t overlook the importance of coped joints for inside corners. Nail guns and construction adhesives come next to securely affix everything in place. What about those pesky gaps and imperfections? There are strategies you can use to tackle them effortlessly. Curious about the steps that follow?
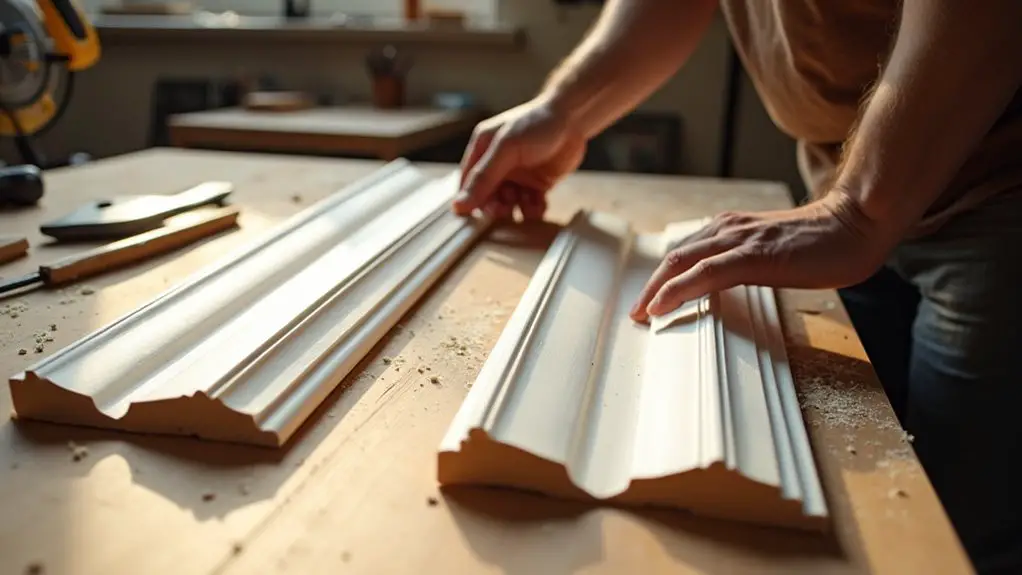
Before starting your crown molding installation project, you’ll need to gather all the necessary tools and materials to guarantee a smooth and efficient process.
First, confirm you’ve got essential tools like a miter saw and a brad or finish nail gun. Accurate measurements are critical, so have a tape measure and a carpenter’s square at hand. A stud finder will help locate wall studs for secure attachment.
For specialty equipment, a crown molding jig, such as the Kreg Crown-Pro™ or Milescraft® Crown45™, confirms precise cuts. An angle finder and coping saw will handle complex angles, while a wood rasp helps with detailed shaping. Safety glasses and ear protection are non-negotiable for your safety. It’s also worthwhile to consider crown molding kits made from polyurethane material, as this offers moisture and insect resistance for a durable finish.
Choose between polyurethane or wood crown molding pieces. Utilize Quick Clips™ for easy installation. For strong bonds, use Dynagrip Heavy Duty Construction Adhesive. Keep a caulk gun and optional caulk for finishing seams.
Additional items include a handsaw or backsaw, tack cloth, and sandpaper to achieve a polished finish. A screw gun or optional drill confirms a solid mount where needed.
Finally, a paintbrush for applying paint completes your preparation.
Mark the Installation Area
Although crown molding adds a touch of elegance to any room, marking the installation area with precision is vital to achieve a professional finish. Start by using a stud finder to locate and mark the stud positions on both the walls and ceiling. A carpenter’s pencil or small pieces of painter’s tape are effective tools for this task.
Employ a two-step measuring technique: measure from one corner to your mark, then from the opposite corner back to the mark, verifying you merge both measurements to attain precision. Using an angle finder or protractor can help determine the cut angles needed for non-standard corner measurements.
Create a marking gauge from scrap wood, modeling it after the run and drop measurements taken from the carpenter’s square. This gauge should be made by nailing two blocks together to precisely match the molding’s dimensions. Use it to delineate where the crown molding’s edges will align with the walls and ceiling, adjusting the gauge when encountering variations in different areas.
For corner positions, carefully mark inside corners, accounting for coped ends and square cuts, and use mitered ends for outside corners. Verify these by double-checking all corner measurements.
Finally, utilize a chalk line if necessary to confirm alignment of the ceiling and wall junction, confirming the molding is both level and plumb.
Cut Crown Molding Pieces
When it’s time to cut crown molding pieces, you’ll find that precise angle adjustments are essential for a perfect fit. Utilize your miter saw’s special markings to set the miter angle to 31.6 degrees for flat cuts, and 45 degrees for corners. When working with both inside and outside corners, it is crucial to cut the molding upside down to ensure a precise alignment with each cut. Whether dealing with inside or outside corners, remember to position the molding upside down on the saw to guarantee accuracy.
Adjust the bevel to 33.9 degrees for flat cuts, aligning it with the miter angle for compound miter cuts. You won’t need bevel adjustments when your molding sits upside down against the fence—this approach simplifies achieving the right profile.
Utilize guides and stops to assist in your cuts. Mark the saw base with painter’s tape where the molding rests and attach a template board with carpet tape.
Craft precision slits in the board and, if necessary, use custom scrap wood stops so they don’t interfere with the saw’s swivel space.
For accuracy, lay your crown molding flat on the miter saw. Cut at 45 degrees for corner joints and use a coping saw to refine inside corners.
Reverse your settings for each opposing corner to master the perfect cut.
Secure Molding to Walls
To guarantee a snug and dependable crown molding installation, accurate stud location is essential. Begin by using a stud finder to identify wall studs behind the drywall. Typically, studs are spaced 16 inches on center for 2X4 walls and 24 inches on center for 2X6 walls, while ceiling joists align at 12, 16, or 24 inches on center. When installing crown moulding with a rise of 3″ or less, nails can be securely driven into top plates without marking studs, simplifying the process. Precisely mark these positions both on the wall and ceiling to confirm exact nail placement.
Choose the appropriate fastening method by opting for a 15 or 16-gauge pneumatic nailer with 2-1/2-inch finish nails, or employ the reliability of 16-penny nails or 4-inch GRK screws at a 45-degree angle. Pre-drill holes to prevent molding splits.
Apply construction adhesive at the molding’s rear for extra security, and use a brad nail gun with 1½-inch nails on the studs and joists.
Drive nails or screws at a 45-degree angle to secure both the top and bottom edges. Wherever joists are absent, fasten nails every foot. For added stability, cross-nail the top tightly to the ceiling.
Finally, caulk joints, fill nail holes with wood filler, and confirm alignment using a level for professional precision.
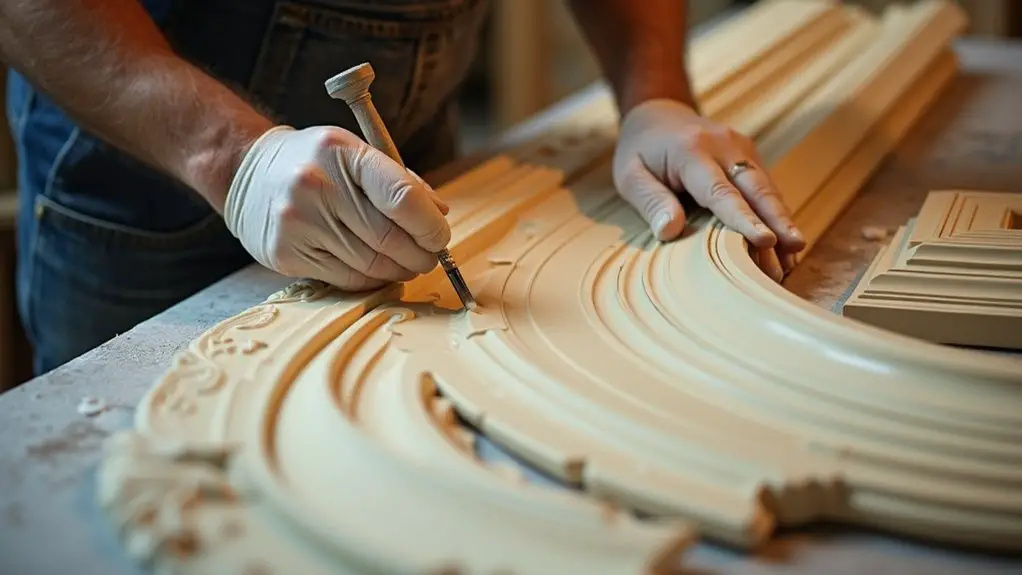
Manage Corners and Joints
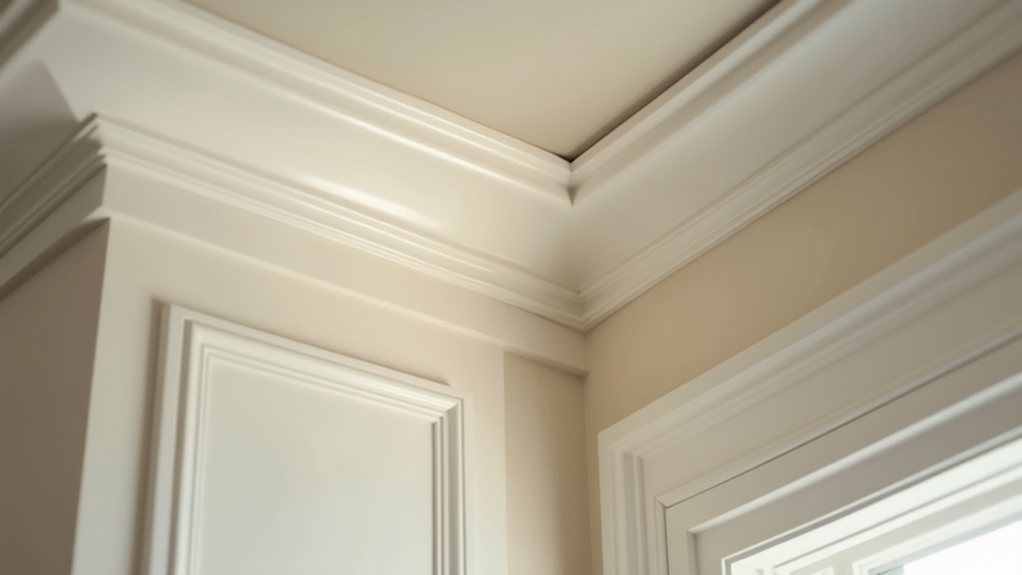
Achieving flawless corner and joint installations, whether for inside or outside corners, requires precision and attention to detail.
For inside corners, avoid mitering and instead use a coping saw to trim and back cut the molding. This guarantees a snug fit even in non-90 degree angles. First, scribe the edge of the trim with a pencil, allowing you to visualize the cutting path before making precise cuts. Fine-tune the joint with a four-in-one file or a razor knife for a perfect fit, and consider templates for complex inside corners. Since most corners are not exactly 90 degrees, coping ensures that your molding fits beautifully and snug even in slightly irregular angles.
When tackling outside corners, utilize a miter saw. Keep in mind to position the molding upside down and backward for accurate cuts. A corner template will guide your ceiling and wall markings, complementing an angle template made from a 1×4 board to set your table saw blade correctly. Secure these joints with glue and small nails, guaranteeing smooth shifts with test cuts.
To join lengths of molding seamlessly, cut scarf joints at 45-degree angles. Apply low-temperature hot glue for adhesion, holding for 15-20 seconds. Seal gaps with sandable spackle, then sand to perfection with varied grits from 80 to 150, ensuring seamless shifts.
Apply Finishing Touches
The details make all the difference in achieving a polished look for your crown molding installation. To begin, select the right caulk. Opt for paintable, flexible options like silicone-based or acrylic-latex caulk, guaranteeing compatibility with the molding materials and environmental conditions. Always read the label for specificity.
Next, prepare the surface meticulously. Clean the area with a mild detergent solution and a clean cloth, removing any dust or debris, and allow it to dry completely for ideal adhesion. This guarantees the caulk bonds securely. Caulking crown molding not only enhances the aesthetic appeal but also provides a seamless transition between the surfaces, creating a unified and polished finish.
When applying caulk, precision is key. Cut the caulk tube tip at a 45-degree angle and utilize a high-quality caulking gun. Work in small sections for control, smoothing the caulk with your finger or a tool, and use painter’s tape to maintain straight edges.
Employ a damp rag or sponge to smooth and clean the caulk, wiping away excess immediately to prevent drips or smudges.
Lastly, ensure proper drying. Check label instructions for drying time, considering environmental factors, and avoid rushing. This prevents compromising the seal.
Conduct a final inspection for gaps or imperfections, making any necessary adjustments for a flawless finish.
Paint or Prime the Molding
Preparing the crown molding for painting involves a meticulous assessment to guarantee a smooth and flawless finish.
Begin by inspecting the molding for imperfections like cracks, nail holes, or dents. Address these blemishes using a high-quality wood filler, ensuring thorough drying. Sand the entire surface, eliminating any scratches or irregularities. If the molding has a glossy finish, degloss it with fine-grit sandpaper and a suitable deglosser. Conclude preparation by wiping the molding with a damp rag to remove all dust and debris.
Now, select the right primer and paint. Opt for pre-primed molding to save time. If not, apply a high-quality wood primer using long, even strokes, sealing the surface effectively. Ensure to paint the molding before installation, as it simplifies the process and reduces ladder use. Choose a paint sheen that complements the room’s décor, steering clear of overly dark or bold colors. Confirm the paint type aligns with the molding material, such as polyurethane.
Proceed to painting with the appropriate tools. Use angled sash varnish or enamel brushes for precision. Apply thin layers with long, even strokes, allowing each coat to dry completely.
Paint in manageable sections for consistent coverage, maintaining smooth, continuous strokes to avoid start and stop marks.
Final Adjustments and Inspection
With the paint or primer applied, your focus now shifts to guaranteeing the crown molding is flawlessly installed.
Begin by inspecting the installation for any gaps or imperfections between the molding, wall, and ceiling. Ensure all joints are tight and well-aligned. Check that the molding is securely nailed to the studs and joists, watching for any signs of wood splitting. Utilize backer blocks to enhance stability and alignment during the mounting process, simplifying the installation and allowing for easier fixing of any discrepancies in positioning.
Proceed to adjust any faulty joints or gaps. Use wood filler to address small gaps at the joints. For larger gaps, consider re-cutting and replacing the molding piece. To refine coped joints, employ a wood rasp or utility knife for an improved fit.
Apply caulk to any remaining gaps, smoothing it with a damp cloth. If necessary, use shims to correct uneven wall or ceiling surfaces.
Ensure that the molding is flush by verifying its level and plumb positioning before final nailing. Avoid over-nailing, which can lead to buckling or unevenness. Use temporary blocks to support the molding as needed.
To complete the process, inspect under various lighting conditions for any imperfections. Fill nail holes, sand smooth, and apply touch-ups as necessary for a seamless and professional finish.
Frequently Asked Questions
What Is the Ideal Height for Crown Molding Installation?
Determine crown molding height by ceiling height and formality: 8-foot ceilings use 2 1/2 to 6 inches; 9-foot, 3 to 7 1/2 inches; 10-foot plus, 4 inches casual, 9 inches formal. Adjust for room size and style.
Can Crown Molding Be Installed on Curved Walls?
Curved walls are like a dance partner; you can absolutely fit crown molding with precision. You’ll craft a template, cut thin strips for flexibility, laminate, and shape, then skillfully install using glue, clamps, and a brad nail gun.
How Do You Choose the Right Crown Molding Size for a Room?
Consider your ceiling height and room’s formality when choosing crown molding size. Measure appropriately, allowing larger moldings in formal and spacious rooms. Guarantee visual balance with existing trim elements, and use consistent molding sizes for a cohesive aesthetic.
Is It Necessary to Remove Existing Trim Before Installing Crown Molding?
You don’t need to remove existing trim if it’s in good condition. However, clear surfaces guarantee precise installation. Confirm compatibility between new crown molding and existing trim to maintain aesthetic consistency and achieve a flawless finish.
What Are Common Mistakes to Avoid During Crown Molding Installation?
Avoid miscalculating measurements and angles, miscutting, and improper coping. Account for wall imperfections by ensuring proper support and using a level. Prioritize sealing, finishing, and not rushing the process for a seamless, professional result.