Here’s Why Your Drill Bit Stops Spinning (With Fixes)
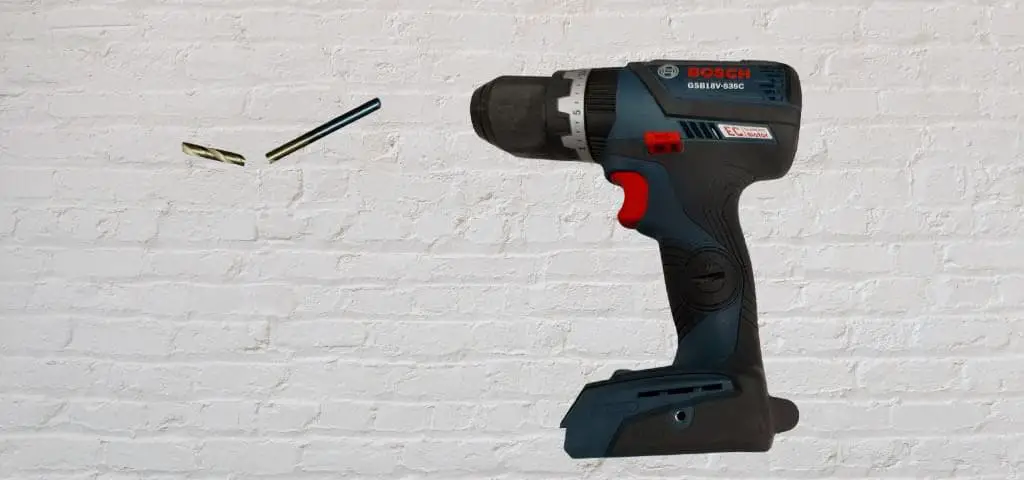
Drill bits are essential tools when it comes to cutting patterns and shapes into different materials. When the bit doesn’t spin, a lot of work can remain undone until you solve the problem. What are the possible causes and how can you fix them?
A drill bit can stop spinning if it’s wrongly inserted or if there’s too much pressure on it. Mechanical faults with the drill can also affect the bit’s spinning. Problems such as damage to the chuck, gears, or gear cases, can lead to a stiff bit—all problems that can be quickly rectified.
In this article, I’ll look at all of these common reasons for the drill bit to stop spinning and how you can solve the problem. So let’s get started so that you can quickly go back to your project.
The Drill Bit Is Inserted Incorrectly
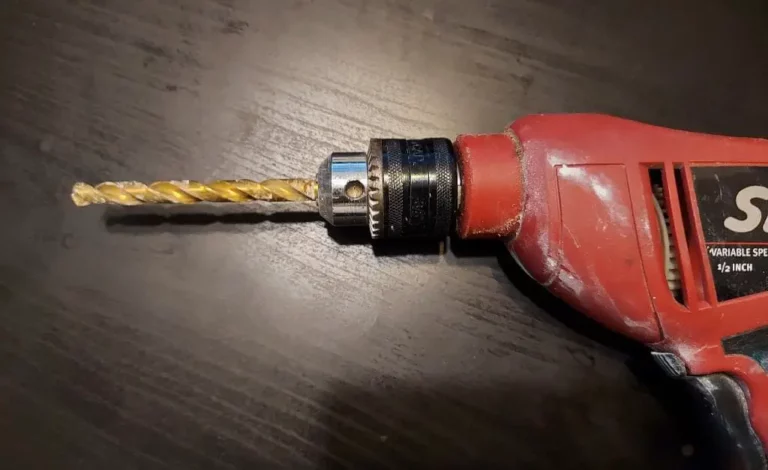
If your drill bit is inserted wrongly in the chuck (even slightly), it can become unresponsive even when the drill is still working. It’s fairly easy to clamp the drill bit wrongly. To avoid this problem, it’s best to remove the bit and try to reinsert it again.
To ensure you insert the drill bit properly in the chuck, here’s what you should do:
- Twist the chuck until you’re left with a hole that’s too tiny to take the bit.
- Slowly open the hole until it’s just large enough to accept the bit.
- Make sure the bit goes all the way into the hole.
- Ensure the bit is properly locked in place.
With this approach, the drill bit will be perfectly balanced, and you can be sure there’s not enough space for it to move around and become poorly aligned—one of the reasons why bits stop spinning.
Test the drill once you’ve reinserted it, and it should be good to go again if the wrong insertion was the problem in the first place.
The Drill Bit Is Bent
When drill bits reach high temperatures while working, they can get bent. So, if your drill bit stopped spinning just after you used it on a specific project, you should check it to ensure there are no problems on this front.
Usually, a bent bit will spin in a disoriented manner. However, it’s also possible that it won’t spin at all.
In cases where a bent drill might be the problem, swapping out the current piece for a new one should fix the problem. Ideally, you should get a brand new bit of a larger size because larger pieces are less likely to bend.
Also, using a fresh bit will help you confirm that the problem lies elsewhere.
You’re Applying Excessive Pressure
Are you holding down the drill too tightly onto the surface you’re working on?
Excessive pressure can make the bit stop spinning once it comes in contact with the surface, which mostly happens when the drill isn’t spinning fast enough.
Relax the pressure on the drill as you try to use it. The bit should start spinning if the fault lies in your handling, but if the drill isn’t spinning fast enough, be sure to confirm the battery capacity if you’re using a cordless drill.
Otherwise, crosscheck the settings on your drill.
When your drill bit starts working again, avoid putting too much pressure to avoid damaging the shank. If you feel like the cuts delivered aren’t sharp enough, changing the bit to a sharper one makes more sense than trying to force the blunt piece to work better.
Issues With the Drill Chuck
Some drills may have manufacturer defects that can make the chuck ineffective. If you suspect such an issue, it’s best to seek a refund or replacement if you’re still within your return window and take a different product.
Changing the drill bit to another one is an easy approach to solving the problem. Other solutions are a bit more difficult, while some of them require technical expertise.
If you’ve used the drill for some time, the first thing you should do is to retighten the chuck. Prolonged usage can make the chuck loose, which will, in turn, give you a drill bit that can’t function optimally or even stop working completely.
To tighten the chuck on your drill bit, here’s what you should do:
- Remove the battery pack.
- Choose the rotation direction selector’s center “off” position.
- Open the mouth of the chuck as widely as possible.
- Insert a hex key into the space and tighten the chuck around it.
Keep in mind that you won’t get the right result if you try to turn the key by hand. To ensure you tighten the chuck properly, get a mallet and hit the hex key firmly in a clockwise direction. If you do this right, the chuck will tighten around the spindle.
If the drill bit still won’t spin after this, it’s time to replace the chuck.
New pieces can cost around $50, so it’s probably best to only change chucks for professional-level drills. If you own a cheap model made for occasional home use (typically worth less than $100), it’s probably best to get a new drill.
Installing the new chuck is similar to tightening it, except you have to hit your hex key in a counterclockwise direction to loosen the old chuck and install the new one.
A Worn Gear Case
The gear case on your drill contains the transmission and the clutch.
If it’s worn from overuse, you’ll find the drill motor spinning, but the chuck won’t move. You may also hear some sort of grinding sound when this happens, which may signify that the hammer function no longer works or the clutch has slipped.
In this scenario, you’ll need to replace the gear case. To get this done, you have to take apart the drill case. The process will vary from one model to another, but you can generally get it done if you follow the steps below:
- Remove the handle and chuck.
- With the chuck removed, loosen the chuck from the spindle.
- Remove the back cover and separate two halves of the drill to get the case open.
- Detach the gear case and motor from the drill case.
- Separate the gear case from the motor and remove the gear selector.
- Put the gear selector in the new gearcase.
- Assemble the parts again, making sure to tighten the chuck properly.
Stripped or Broken Gears
If the gear in your drill is broken or stripped, power can’t get to the chuck. In this scenario, it’s best to replace the gear.
Here’s what you should do:
- Unscrew the gear housing panel on the front of the drill to open the case.
- Pull the shaft out of the case.
- Disassemble the bearing, wave washer, retaining ring, keyway, and the broken gear, using a hammer and punch where necessary.
- Install the new gear and reattach the housing cover.
The gear changing process isn’t for everyone, so don’t hesitate to take the drill to a workshop if you can’t complete the change yourself. The gears on industrial drills are usually a bit more convoluted compared to cheaper models.
Getting the replacement wrong can damage the entire machine, and you might need to buy a new one.
Final Words
If your drill bit stops spinning at any point, the problems often come down to handling errors on your part or issues with the chuck.
On some occasions, there could be problems with the gear case or the gears. When faced with this problem, you can either take the drill to a certified workshop or contact your manufacturer for solutions (and perhaps about a replacement).
However, if you have the technical skills to troubleshoot the problem, work your way up from the simple fixes to the more technical ones, as we’ve seen above.
