DIY Window Seat: Create a Cozy Nook in Any Room

When building a DIY window seat, an essential step many overlook is ensuring the frame is securely anchored to the wall studs for maximum support, a technique that prevents the seat from tipping or collapsing under weight. Start by measuring your window’s dimensions to design a perfect fit, taking into account any obstacles like floor air vents that may need to be redirected. With a solid plan, you can proceed to build the frame using 2×4 lumber, incorporate hidden storage solutions, and add a comfortable seating surface. As you move forward, consider how additional features like plush cushions, soft textiles, and warm lighting can transform this space into a cozy nook ideal for relaxation.
Measure Window Space and Plan Design

To start building your DIY window seat, the first step is to measure the window space and plan your design carefully. Determine the width by measuring inside the window from edge to edge, guaranteeing you take three measurements (top, middle, and bottom) and use the smallest one to account for any irregularities.
Measure the depth by considering how far the seat will extend into the room. The height should be measured from the floor to the base of the window trim, and ideally, the seat should be between 16 and 18 inches high, including a cushion.
Note any obstructions, such as air vents, and plan accordingly. Consider whether the seat will be flush with the wall or fit into the window nook. Identify any angles or curves in the window shape and determine if the window is symmetrical to guarantee a proper fit.
When designing, balance aesthetic appeal with functionality to ensure the window seat serves both purposes effectively.
Building the Frame
After you have measured and planned your window seat design, it’s time to focus on building the frame. Start by using 2×4 lumber to construct the base frame, guaranteeing stability and strength. Remove any baseboard molding and window stools to guarantee a clean fit. Secure the framing to the floor using screws or framing nails, and toenail the ends of the framing into the wall at a 45-degree angle. Make sure to set the framing back to allow space for drywall thickness.
For the side supports, attach 2×4 studs to the back of the bay window, guaranteeing they are level with the framing wall. Cut 2×4 boards for the angled walls and add additional 2×4 boards for reinforcement. Use a pocket jig to secure vertical supports to the wall and the bench supports.
Construct a small framing wall that fits the front width of the bay window and attach vertical supports to the top, front support board. Secure the entire front structure to the bottom floor support and add face trim after the front plywood panel is in place.
Ensuring the frame is sturdy is crucial, as it will serve as the foundation for your cozy nook, providing a private oasis where you can relax and unwind.
Adding Storage and Seat

When adding storage and a seat to your window seat, the key is to balance functionality with aesthetic appeal. Using IKEA cabinets, for instance, can be a cost-effective solution, saving you money compared to hiring a contractor.
For structural considerations, make sure you add supports like 1×8 pine and 2x4s for stability. Incorporating side supports such as 1×4 boards helps maintain the structural integrity of your window seat. You can also use piano hinges to attach lids for easier access to the storage. Ensuring the lids are properly reinforced, such as with plywood, is crucial for supporting weight and preventing bowing.
In terms of design, incorporating storage can enhance functionality without sacrificing style. Thin tongue and groove cedar boards can add a visually appealing element, while floating shelves or a cedar-lined storage bench can provide a rustic, cozy feel. Make sure your design choices reflect the room’s overall aesthetic[2,4].
Tools like circular saws and box cutters are essential for DIY projects. Plan carefully to avoid complications, and start with a simple plan to make sure a smooth process[1,4].
Creating a Cozy Nook
Creating a cozy nook involves carefully selecting the right location to maximize comfort and functionality. Identify small, unused spaces like alcoves, corners, or areas under windows, and consider the room’s purpose to guarantee the nook blends well with the overall room function. Look for natural light sources like windows or skylights to create a warm and inviting ambiance, and assess the noise level to choose a quiet spot ideal for reading and relaxation.
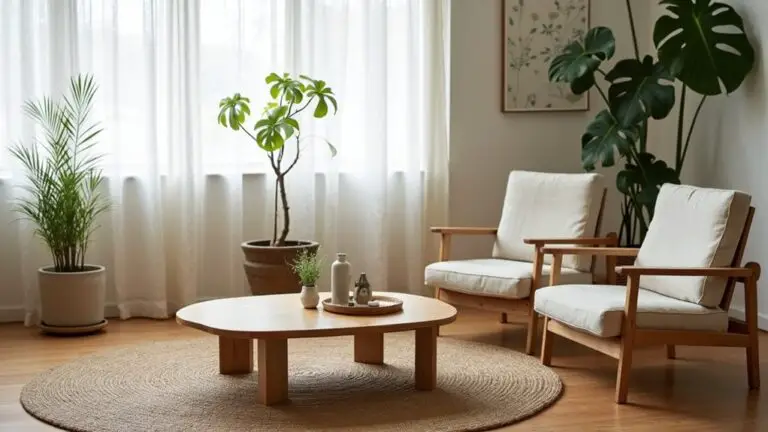
For comfortable seating, opt for soft, plush materials such as velvet or linen, and consider built-in seating like window seats or daybeds, which can serve as multipurpose spaces for naps, guests, or reading. Incorporate textiles like pillows and throws to add comfort and warmth. Use ambient task lighting, such as sconces or table lamps, to create a cozy atmosphere, and avoid harsh overhead lighting.
Personalize your nook with favorite books, artwork, and decorative objects. Add plants for a natural element, and include functional elements like a side table or bookshelf to keep essentials within reach. Use textiles like blankets and rugs to enhance comfort and coziness, making the nook a reflection of your personal style.
Additional Tips and Ideas

To guarantee your window seat is both functional and aesthetically pleasing, several additional considerations and tips can make a significant difference in the final outcome. Measure carefully to confirm the seat fits snugly in the bay window, considering the height and depth for comfort and functionality. Plan for electrical outlets and lighting if you intend to use the seat for reading or other activities that require power.
Design storage access points that are both functional and aesthetically pleasing, such as hinged lids or sliding panels. When dealing with floor vents, use materials like aluminum tape and venting pieces to redirect airflow, confirming proper ventilation. Verify the seat is stable and securely attached to the wall to prevent accidents. Tailor the design to fit the specific needs and style of the room, using materials like plywood or MDF for durability and aesthetic appeal. Ensure that the floor moldings are removed before starting construction, as this allows for a flush fit with the front wall for trim compatibility floor moldings.
Finally, consider adding technological features like USB ports and smart home controls for enhanced convenience.
Final Touches
As you complete your window seat project, the final touches can transform it from a functional piece of furniture into a cozy and inviting space. To achieve this, focus on several key elements.
- Choose soft, comfortable cushions and add layered throw pillows to create an inviting seating area. Experiment with different textures and prints to add personality to the space.
- Incorporate a cozy throw blanket for added warmth and charm, making the space feel snug and welcoming.
- Consider overhead sconces or nearby lamps to enhance the nook for evening reading, and use curtains or blinds to control sunlight and add privacy.
- Add decorative elements such as plants, framed artwork, or decorative baskets to personalize the space and create a unique visual interest. Additionally, consider adding a piece of abstract wood wall art, created using scrap wood and simple tools like a miter saw, to add a unique and personalized touch.
These final touches will make your window seat a cozy retreat where you can relax and enjoy the view.
Conclusion
As you complete your DIY window seat, imagine transforming a mere window into a cozy nest, a haven where weary wings can rest. Your careful measurements and sturdy frame are the foundations of this sanctuary. The storage and seat you’ve added are the nurturing branches, while the plush cushions and soft textiles are the warm feathers that envelop you in comfort. Now, your window nook is a haven, ready to cradle you in peace and tranquility.